Soil is vital to life on the planet. Without soil, plant, tree and animal life would not be possible! Healthy soils also store and filter water, recycle nutrients (food) and help us to deal with the negative effects of climate change by storing large amounts of carbon.
Soil is made of four main things:
- broken-down rock
- dead plants and animals
- air
- water
Let’s explore each of them through fun experiments and other activities!
Air in the soils!
Up to 50% of soil is made up of gases – said simply air! Air is important in soil for the things that are living and growing in it. Plant roots and animals that live underground need oxygen to breathe. When soil is filled with water or pressed down too tightly, there is less space in the soil for air!
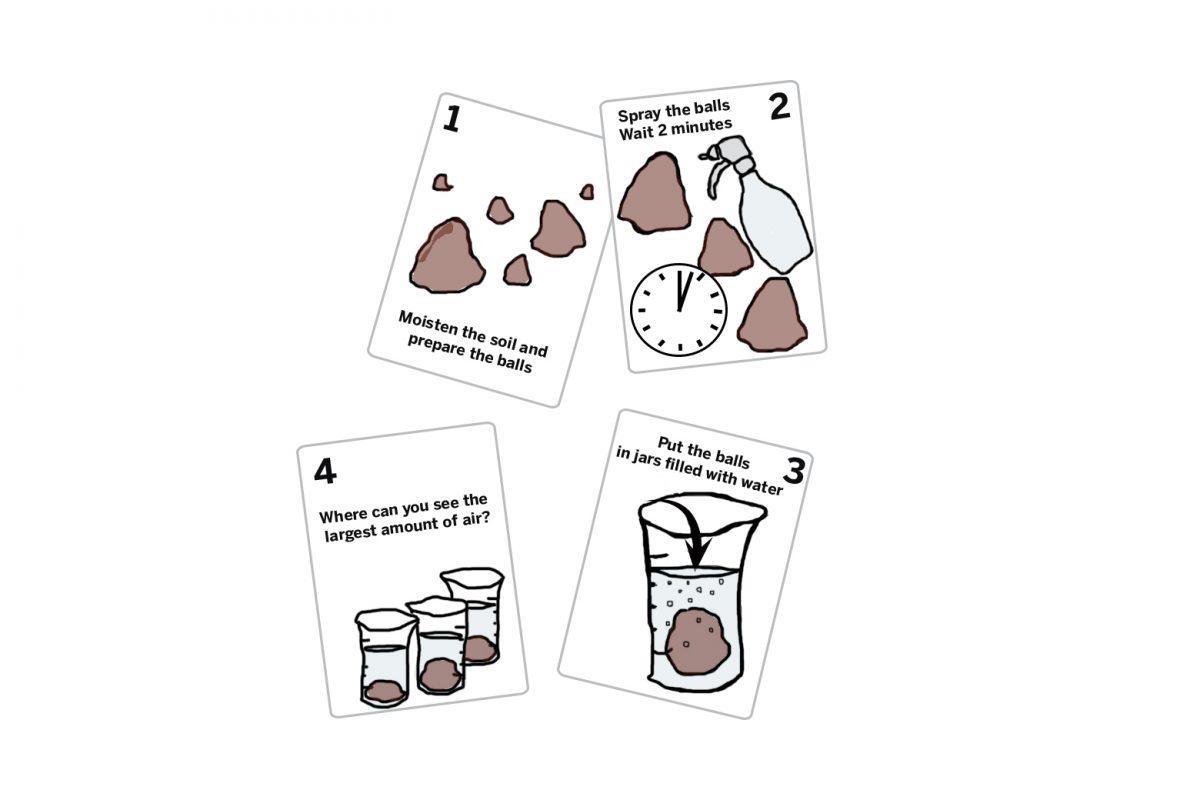
Instructions
- Collect some different samples of soil.
- Moisten the soil lightly and press into several small balls in your hands.
- Spray the balls and wait 2 minutes.
- Put the balls in different jars filled with water.
- Watch the bubbles.
Do you notice a difference in the number of bubbles in each jar? Where can you see the largest amount of air?
The jar with the most bubbles has the most air. Do you think this is good or bad for plants and animals living in the soil?
Did you know?
Worms and animals that live in the soil come out when it rains. This is because the water from the rain replaces the air in the soil making it hard for animals to breath.
When a farmer is growing cops, he or she would have to plough (making deep ridges in the soil) so that there is always a steady flow of nutrients (food), water and air.
Wormy wonders
Earthworms are the soil’s and a farmer’s best friends. This is because they keep the soil healthy by breaking down dead plants and animals into nutrients (food) for plants.
Create your own ‘wormery’ and watch what these wonderful creatures do in and for the soil!
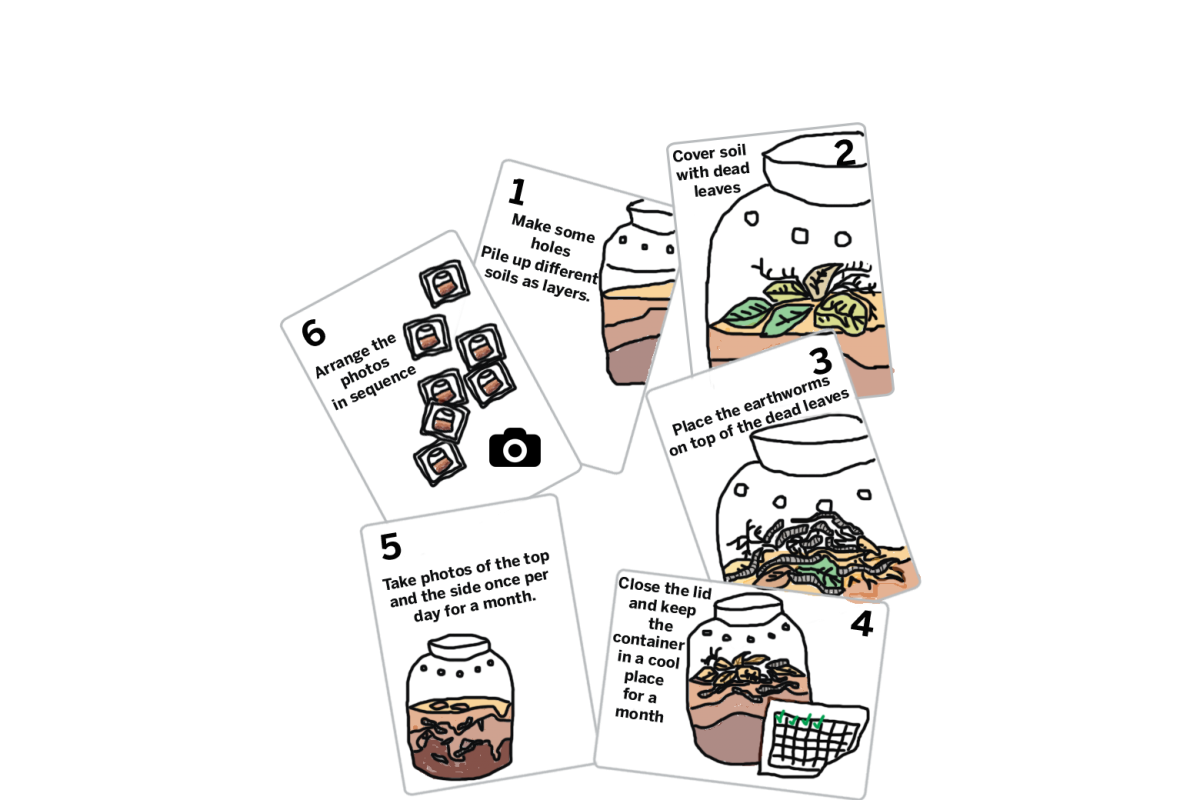
Instructions
- Collect 2 to 4 different soils with different colours. Avoid using peat or plain sand as it may harm the earthworms.
- Make some holes in the upper 5 centimetres of the container to allow air to pass through.
- Moisten the soil. Pile up the different coloured soils as layers, mixing them as little as possible. Leave a couple of centimetres at the top.
- Cover the surface with the dead leaves and bits of old plants.
- Go out and look for some earthworms in your local park or garden. Put 20-30 earthworms on top of the dead leaves and old plants.
- Close the container with the lid and keep the container in a cool and dark place for about one month. Check back regularly so that the soil does not dry out.
- You might want to take a photo of the side and top of the container once per day. Maybe you can also record videos on some days.
- Arrange the photos in date order and explore the differences between the beginning and the end of photos.
- What did you see? What happened in different parts of the jar?
Tips!
Worms do not like bright light so when you are not watching their activity, cover your wormery with a towel or newspaper to keep out the light.
When the experiment is over, return the worms safely to where you found them.
Did you know?
When earthworms tunnel through the ground they bring air and water into the soil.
Earthworms will eat almost anything that was once living but is now dead.
Did you know that soil can clean water?
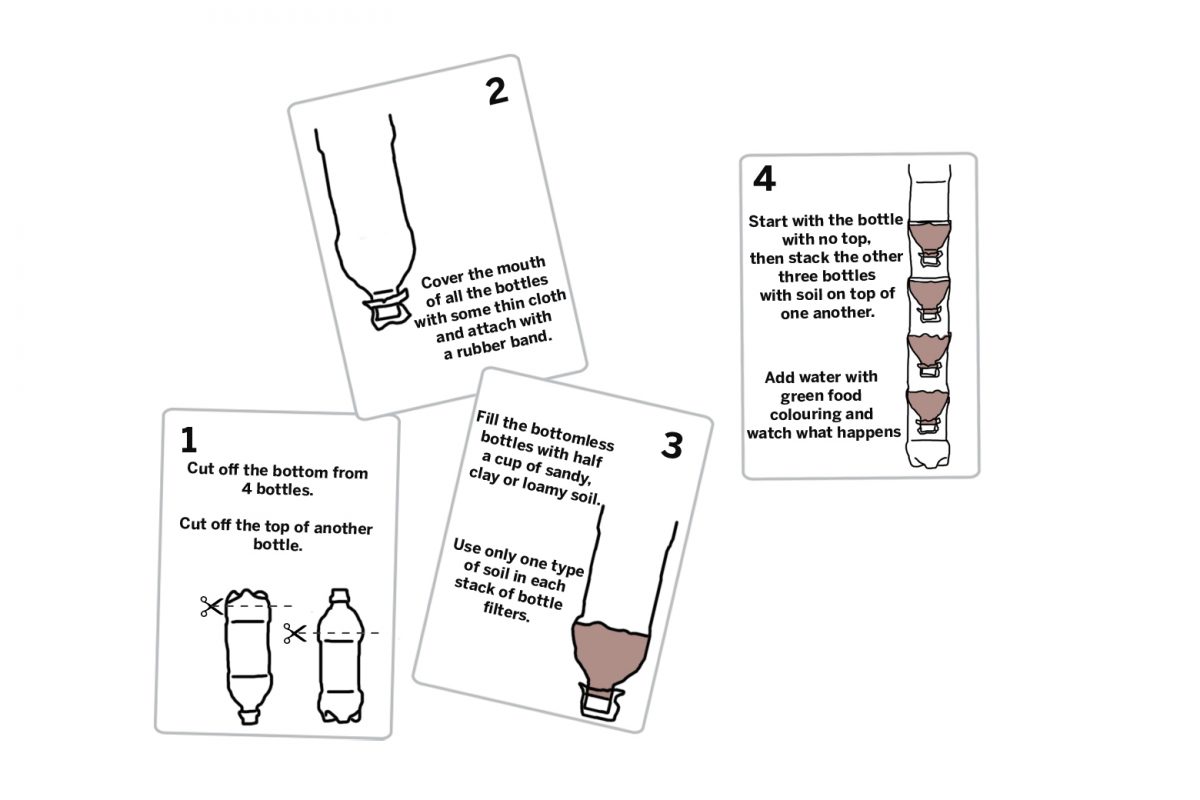
Soils are great water filters. Collect some soil samples and conduct an experiment to see how soil removes different things from water.
- You will need five plastic bottles.
- Cut off the bottom from the 4 of these plastic bottles.
- With the last bottom cut off the top.
- Cover the mouth of all the bottles with some thin cloth and attach with a rubber band. You could use cheesecloth, kitchen towel, coffee filter, medical gauze, linen cloth, paper towel or a sock!
- Fill the bottomless bottles with half a cup of sandy, clay or loamy soil. Be sure to use only one type of soil in each stack of bottle filters.
- Start with the bottle with no top, then stack the other three bottles with soil on top of one another.
- Now add water with green food colouring and watch what happens! If you don’t have food colouring, you can use muddy water.
If water is added more slowly, it will have more time to interact with the soil and will be cleaned better.
If water is added more quickly, it will have less time to interact with the soil and will not be cleaned as well.
If water going into the soil is green and water coming out is yellow, some of the colouring was drawn out of the water, but not all of it. This is called preferential absorption.
Why is it important that soil acts as a filter? How do you think this might be useful for ecosystems, as well as households, industry, and agriculture?
Tips!
Small vertical slits may be cut into the bottom of the bottles to improve fit.
Rocks ‘N’ research
Gather different rocks from your garden, local parks and schoolyards. Study their shapes, colours and sizes. Compare them to pictures of rocks online or in an encyclopaedia.
Then explore their different qualities and characteristics through these fun tests.
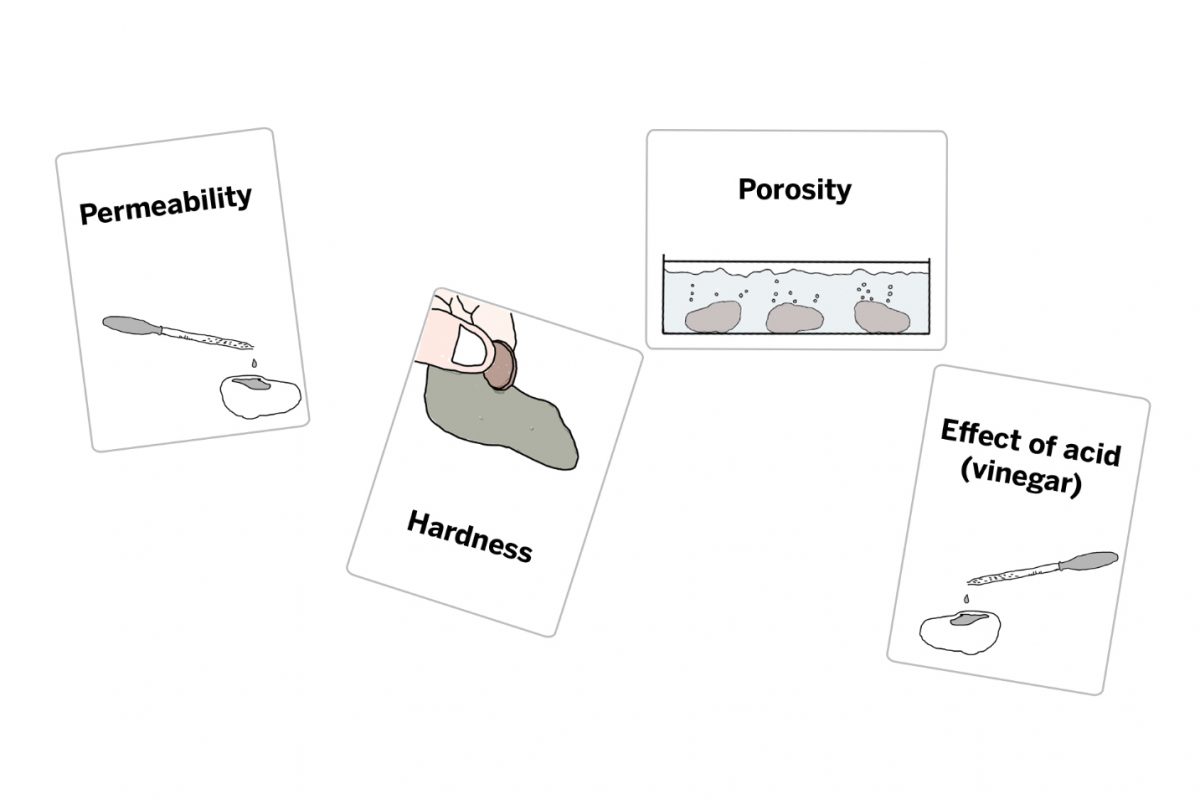
Hardness – Make a ’hardness’ chart by carrying out a scratch test.
Permeability – see what happens when water is dropped onto different rocks. Some rocks will soak up the water, others will allow the water to sit on the surface.
Porosity – Weigh the rocks when they dry, then put them in water. Bubbles can be seen rising, as air from the pores in the rocks comes out. Leave for about 5 minutes. Which rock absorbs most water? Pat the rocks dry and weigh them again. The most porous rocks will have the largest weight gain.
Effect of acid – See what happens when strong vinegar is dropped onto the rocks – try to cover at least half of the rock. The calcium carbonate in limestone, calcite, chalk and marble will react with the acid. What happened?
Mini-challenge
Why not choose one of your stones to become your lucky charm? What magic power will it have?
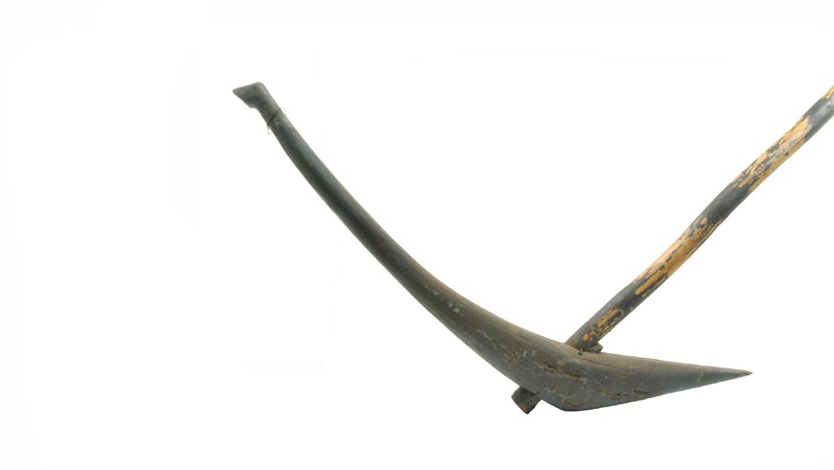
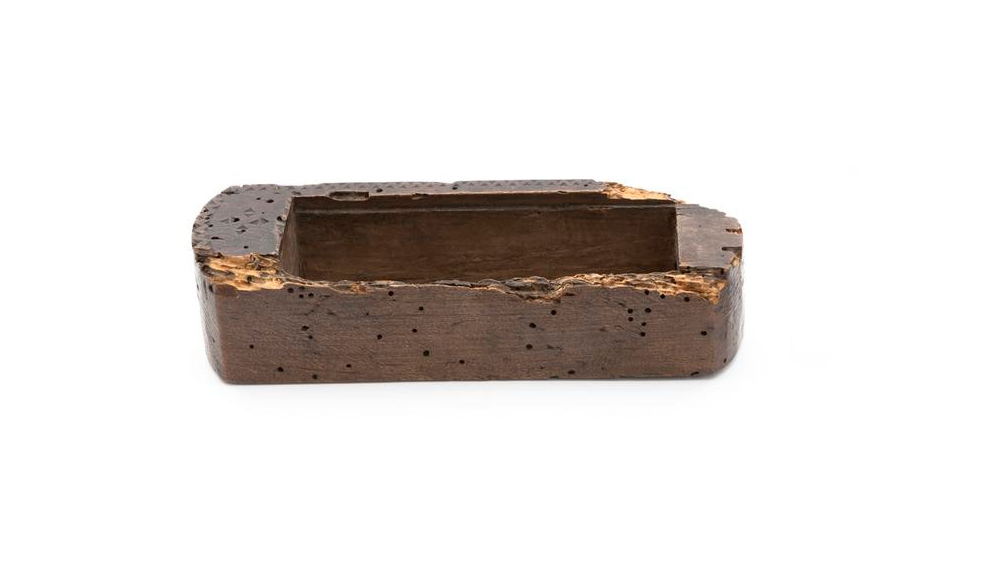
Since ancient times, many cultures kept rocks as magical amulets. Here are some examples from our collection!

This charm belonged to a shepherd. It was meant to bring good luck in lambing time.

For ancient Egyptians, the wadjet eye, or Eye of the god Horus, represents the healed eye of the god Horus and embodies healing power as well as regeneration and protection in general.

Stones that have natural holes in them are traditionally said to be lucky.
This holed stone was carried by a soldier for luck during the First World War.

This small smooth bullet-shaped stone is a love charm.
Museum Musings
Visit the museum’s World Gallery where you can see clay pottery or sculptures. Which is your favourite? What does it tell you about the person who created it or the civilization from which it comes?
Maybe ask someone at the museum if they know anything about how it was made. Did you know a lot of pottery is made from clay, a type of soil? What do you think was added to the soil and what has happened to it to make this pottery or sculpture?
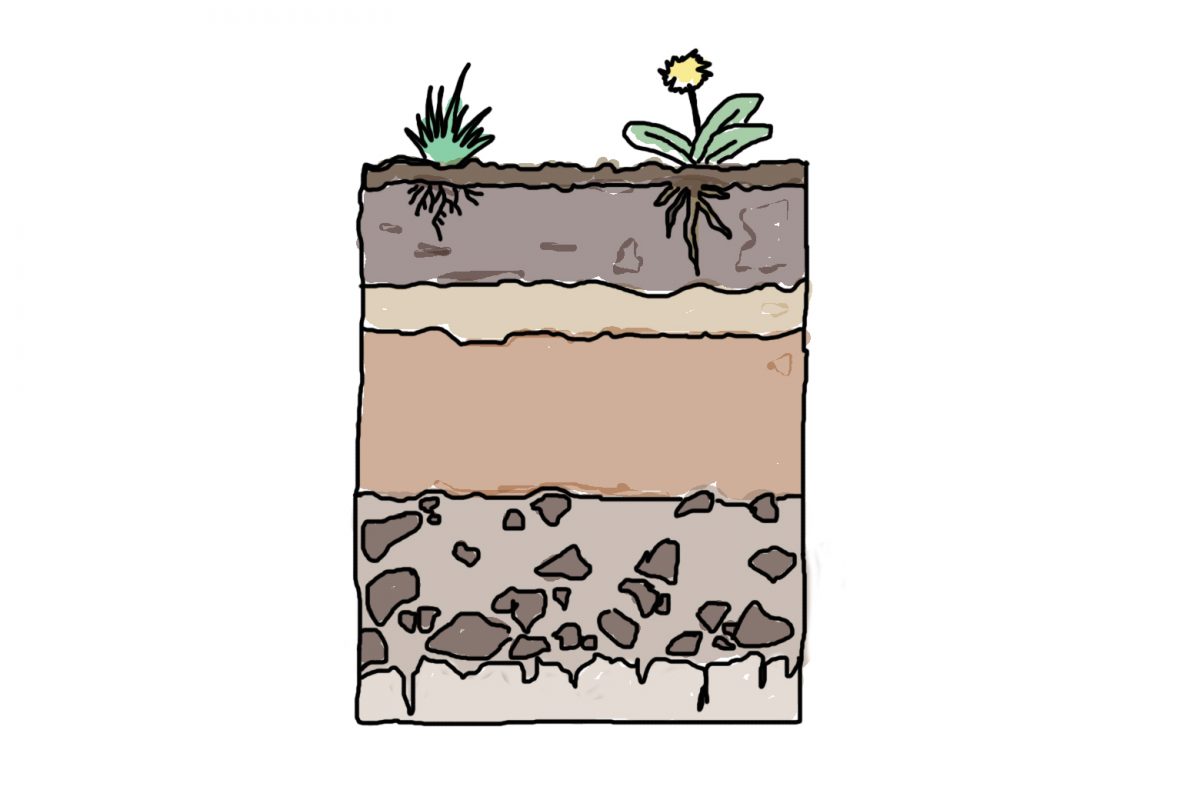
Mini-challenge – Soil Stories
Soil has many different layers. Imagine the different creatures that live at different depths underground. Can you make up a story about one of them with your family? What are its surroundings like? How does it get along? What does it do every day?